Win32 Disk Imager Portable Washing
Open Disk Management using the command: diskmgmt.msc and you should see a disk listed with multiple partitions. Verify that the disk's total size matches your USB drive. You should then be able to assign a drive letter to the disk and format it.
Usb Xtaf allows you to access to the contents of your FATX hard drives. For information, FATX is a slightly modified version of the FAT file system for the hard drive of Xbox console. Usb xtaf xplorer free download free.
You may need to initialize the disk before being able to manage it. You also may need to delete the partitions manually and then create a new partition in order to manage it as a single unit.
Oct 24, 2017 - Win32 Disk Imager, for writing images into SD card / saving images from SD card. The Java version is very small, portable across operating systems (assuming you have java installed) - download this. Cleaning SD card.
In most cases Linux Live disks do not get a drive letter automatically whin plugged into a Windows machine unless you used a utility like Linux Live (LiLi) that gives you an option to hide the files on the drive from Windows or not. Hope this helps.

So for building this project you will Portable TV / DVD player which you may find lying down in your house or you could borrow from your generous friend.Then you will need raspberry pi,obviously, any raspberry pi will do, but I will be using raspberry pi zero w. Now if you will be using raspberry zero like me you will also need to make an additional circuit board for audio since it doesn’t have the audio jack like the raspberry pi 3. For the audio board you will require these components: • Two 270 ohms resistor • Two 150 ohms resistor • Two 33 nF ceramic capacitor • Two 10 uF electrolytic capacitor Apart from these you will also need some male and female header pins. Some wires and a prototyping PCB.
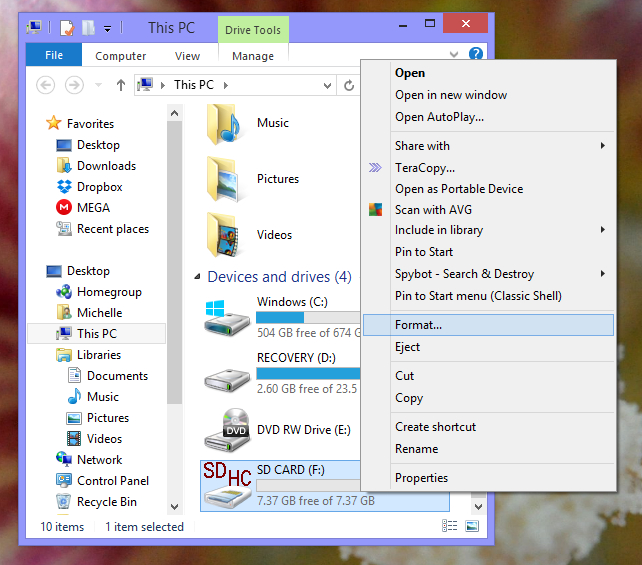
You will also need to download the retropie image from here: To load the image on the SD-CARD you will need Win32 Disk Imager or even Etcher will do the job. Download Win32 Disk Imager from here: and Etcher from here. This is step is not needed if your portable DVD player has AV video input, then your life is a bit easier and you can skip this step. This part can be difficult for some people but, you are sure to find a way if you try. You have to find a wire / path through which the processor transmits the video signal to the display IC. The processor is often the largest chip that you can find and has more number of pins. Some portable DVD player have separate circuit board for the display (like mine).
Then you just need to hack the cable connecting the main board to the display board. In my case the pinout of the connector cable was printed on the circuit board. But if it isn’t in your case then you can just Google the pinout for the Display IC. As you can see in the picture above the pinouts of my connector cable are given on the display board. I found three pins interesting and they are TV/AV, TV, Y (see in the pictures above). The TV/AV is used to change the mode between TV and DVD mode. The TV is the TV video input and Y is the DVD video input.
You'll also want about 64 MB of RAM, though 32 MB will work. And of course a Voodoo card, the voodoo 2 had some issues. Blood plasma pak cryptic passage for blood pressure. Then you'll need to track down the software. FreeDOS should work fine for the OS. But if you still have a copy of Windows 95, 98 that works fine too.
In my case I choose the TV input since it gave better quality display. So I just cut the TV wire and replaced it with raspberry pi‘s output. If you successfully completed this step then congratulation since this was the most difficult step and the subsequent steps are very easy.
For this I referred to adafruit website: This step is needed only if you use raspberry pi zero since the raspberry pi zero doesn't have a inbuilt audio filter. The circuit uses both gpio 13 and gpio 18 for stereo output. But I have only used gpio 18, Since I don’t mind a mono audio output. I connected the output of this filter to the on board audio amplifier of my Portable DVD player. Please note you need a audio amplifier if you can’t use the onboard amplifier then you will need to make an audio amplifier. You can’t connect the output of the audio filter directly to the speaker.
Now its time to test to see if our audio is working, But before that we need to flash the Retropie image to the sdcard card, You can download this image from the Retropie official website from here ( ) For flashing I used Win32 Disk Imager but you can also use Etcher to do the job. You need to open Win32 Disk Imager in administrator mode, select the Retropie image file. Choose your SD-CARD drive letter from the drop down box and then click on the write button.